Quick and Easy Epoxy Floor Installation Guide
Looking to transform your space with a durable and attractive flooring option? This epoxy floor installation guide provides a straightforward approach to achieving a professional-looking finish without needing extensive experience. Whether you're refreshing a garage, basement, or commercial area, this process is designed to be user-friendly and efficient.
With just a few essential materials and tools, you can create a seamless, glossy surface that not only enhances the aesthetics of your area but also adds a layer of protection against wear and tear. Get ready to impress with a stunning epoxy floor that stands the test of time.
The Simplified Epoxy Floor Installation Process
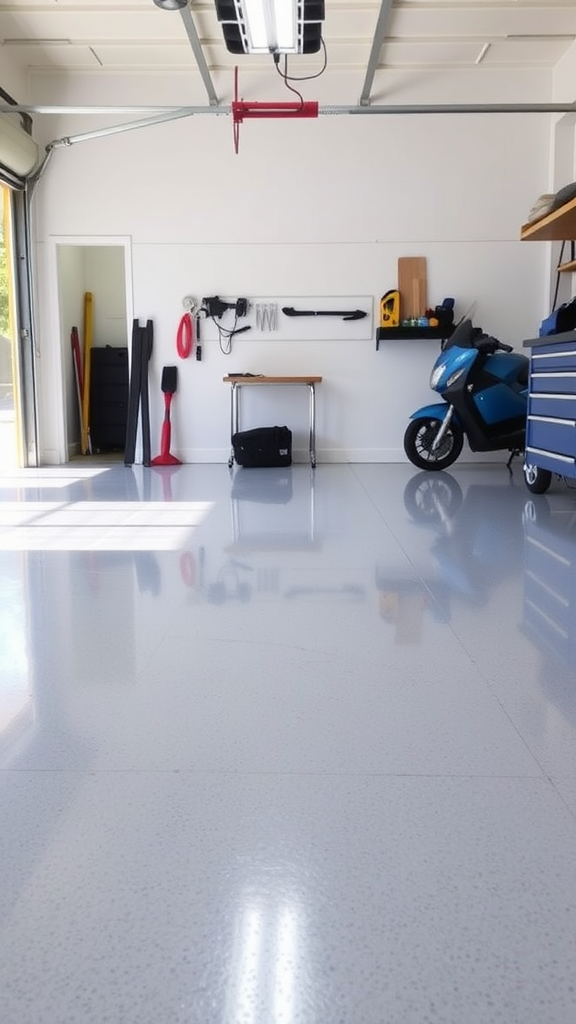
This quick installation process results in a beautiful epoxy floor that is both durable and easy to maintain. The finish is glossy and attractive, offering a sleek look that is ideal for both residential and commercial spaces.
Ingredients
- Epoxy resin kit (includes epoxy and hardener)
- Concrete or floor primer
- Floor grinder or sander
- Paint roller and extension pole
- Notched squeegee
- Mixing container and stir stick
- Protective gear (gloves, mask, goggles)
- Masking tape
- Optional decorative flakes or color pigments
Instructions
- Prepare the Surface: Clean the concrete floor thoroughly to remove dirt, grease, and oil. If necessary, grind or sand the surface to create a smooth and even texture to aid adhesion.
- Apply Primer: If using a primer, apply it evenly across the floor and allow it to dry according to the manufacturer's instructions.
- Mix the Epoxy: Following the instructions on the epoxy resin kit, mix the epoxy and hardener in a clean container until well combined.
- Apply Epoxy: Use a notched squeegee to spread the mixed epoxy over the primed floor. Work in sections and use a paint roller to ensure even distribution.
- Add Decorative Flakes (Optional): If you want a textured look, sprinkle decorative flakes or color pigments onto the wet epoxy while it's still tacky.
- Cure the Floor: Allow the epoxy to cure according to the manufacturer's instructions before walking on the floor or placing any items on it.
- Prep Time: 1-2 hours
- Installation Time: 4-6 hours
- Cure Time: 24-72 hours depending on the product
Comments
Post a Comment