Transform Your Space: Enhance Property Value with Epoxy Flooring
Epoxy flooring is more than just a trend; it's a transformative solution that can significantly enhance the value of your property. This innovative flooring option combines durability, aesthetics, and functionality, making it a popular choice for both commercial and residential spaces.
Imagine stepping into a garage or basement with a stunning, high-gloss floor that not only looks great but is also incredibly resistant to wear and tear. Epoxy flooring is designed to withstand heavy traffic, spills, and stains, ensuring that your property remains in top condition while boosting its market appeal.
Why Choose Epoxy Flooring?
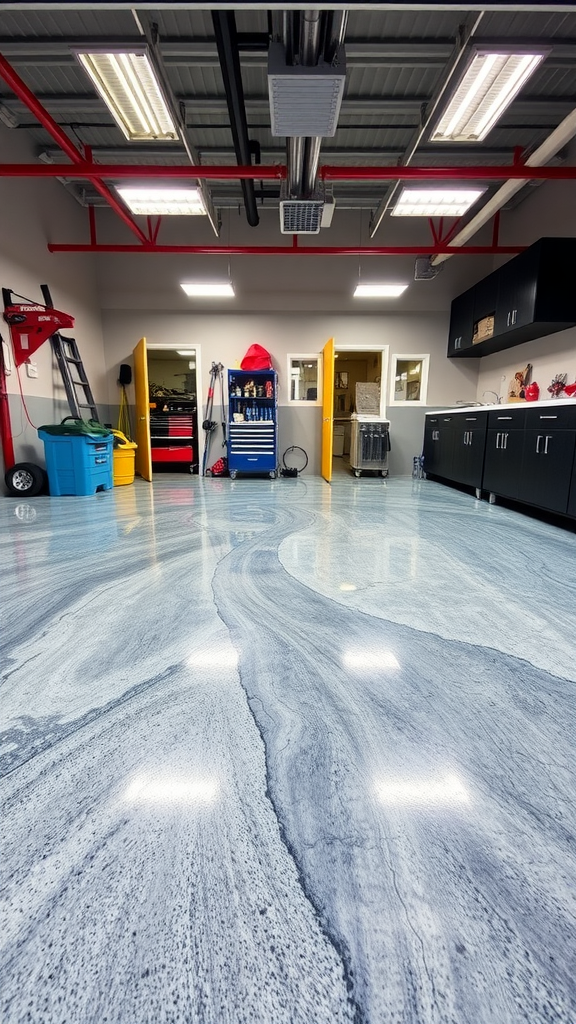
Epoxy flooring offers a sleek and modern finish, perfect for creating an inviting atmosphere in any room. Its smooth surface is easy to clean, resistant to mold, and can be customized to fit any design aesthetic. The result is a beautiful and functional space that stands out to potential buyers.
With various colors and finishes available, epoxy flooring allows for personalization that can accentuate the unique features of your property, making it a smart investment for long-term value.
Ingredients
- High-quality epoxy resin
- Hardener
- Color pigments (optional)
- Primer (if needed)
- Floor grinder or sander
- Paint rollers and brushes
- Safety gear (gloves, masks)
Instructions
- Prepare the Surface: Clean and grind the existing floor to ensure proper adhesion. Remove any debris and dust.
- Mix the Epoxy: In a well-ventilated area, combine the epoxy resin with the hardener according to the manufacturer's instructions. Add color pigments if desired.
- Apply Primer: If necessary, apply a primer to the floor and allow it to dry.
- Pour and Spread the Epoxy: Pour the mixed epoxy onto the floor and spread it evenly using a paint roller or squeegee.
- Cure the Floor: Allow the epoxy to cure as per the manufacturer's recommendations. Avoid walking on the surface until it is fully cured.
- Finish Touches: Once cured, install any baseboards or trim to complete the look.
- Prep Time: 1-2 hours
- Application Time: 3-4 hours
- Curing Time: 24-72 hours (depending on product)
- Total Time: 1-2 days
Comments
Post a Comment