
10 Stunning Ideas for Refreshing Your Old Basement with Epoxy Floors
© 2025 Quality Coatings LLC - All Rights Reserved.
Quality Coatings LLC at 419-551-1064
Serving the Greater Fort Wayne and Tri-State area.
Giving your old basement a fresh look with epoxy floors can completely change the vibe of your space. This guide will walk you through the basics of epoxy flooring—from its benefits to the practical steps needed for a smooth installation. Let’s turn that forgotten area into something you’ll enjoy!
Choosing the Right Epoxy Finish
Picking the right epoxy finish can really set the tone for your basement refresh. The image shows a wide selection of color swatches neatly arranged on the wall, each offering a unique look for your floor. Whether you want something bold or more subtle, having options makes the decision easier.
Consider your overall style. If your basement is more of a cozy hangout spot, warmer tones might be the way to go. On the other hand, cooler shades can give a modern and sleek vibe. It’s all about what fits your vision.
Reflective finishes can also enhance the lighting in your space. With shiny surfaces, even a small basement can feel more open and inviting. The glossy look not only looks great but also helps in cleaning.
Lastly, think about durability. Some epoxy finishes are more resistant to wear and tear. Make sure to choose one that suits how you plan to use the space. A well-chosen finish can truly transform your basement.
Adding Decorative Flakes
Decorative flakes can really change the look of your epoxy floors. In the image, you can see colorful flakes being sprinkled onto a glossy surface. This simple step adds a fun touch and makes the floor more visually appealing.
These flakes come in various colors and sizes, allowing you to customize your space. You can match them to your style or make a bold statement. As they mix in with the epoxy, they create a unique look that is both stylish and functional.
Applying decorative flakes is easy. Just spread them evenly over the wet epoxy, and they will adhere as it cures. This method not only enhances the design but also helps hide minor imperfections on the floor.
Incorporating these flakes can brighten up a dull basement and turn it into a cheerful area. It’s a small touch that can make a big difference in the overall vibe of the space.
Surface Preparation Techniques
Getting your basement ready for new epoxy floors involves some crucial steps. The image shows someone prepping the surface by using a floor grinder. This machine helps to smooth out the concrete, making it ideal for a fresh coat of epoxy.
First things first, cleaning the floor is key. Dirt, dust, and any old coatings need to be removed for the epoxy to stick well. The grinder does a fantastic job of this. It not only cleans but also opens up the surface, allowing for better adhesion.
Next, filling any cracks or holes is essential. This step prevents the epoxy from settling unevenly later on. After that, a thorough vacuuming will ensure no dust is left behind. A clean surface is a happy surface!
Once everything is prepped, applying a primer can also help. It seals the concrete and gets it ready for the epoxy. This prep work might seem tedious, but it’s the foundation for a great-looking floor.
Sealing the Epoxy Floor
Sealing the epoxy floor is a key step in ensuring durability and a great finish. In the image, a person is applying a final coat of epoxy, making sure every inch is covered. A good seal can protect against spills and stains, keeping your basement looking fresh.
The shiny surface seen here is not just for looks. That gloss creates a barrier that helps resist moisture and makes cleaning a breeze. It's like putting a protective shield over your work.
This process takes a bit of time and effort, but the results are worth it. You can see how the reflection from the lights bounces off the floor, showcasing that beautiful finish. It's satisfying to watch the transformation unfold!
Remember to allow the floor to cure fully before putting furniture back in place. Giving it time helps maintain that glossy look for years to come. Once it’s sealed, your basement will not only be functional but also a pleasant space to hang out.
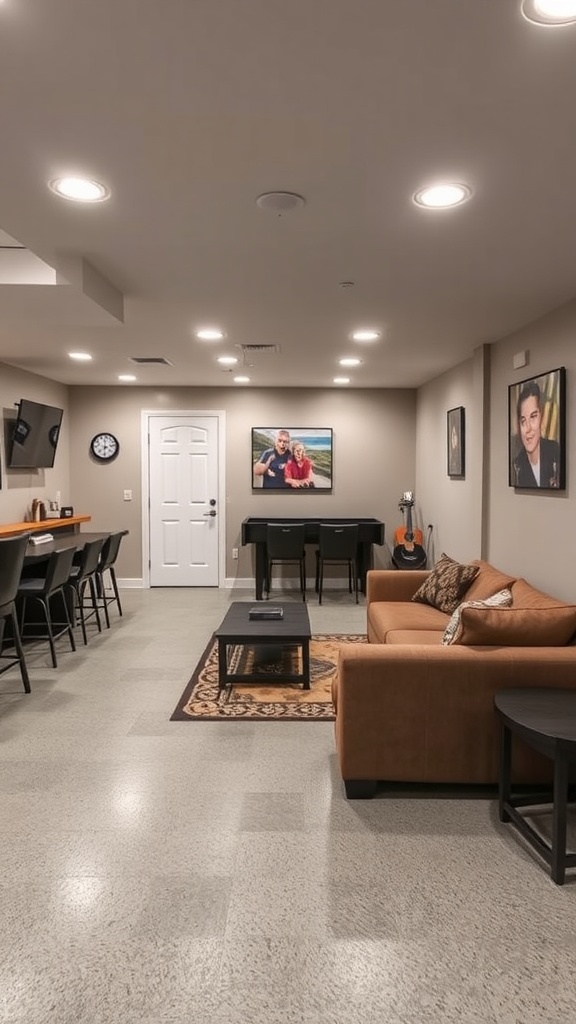
Preparing the Basement Space
Preparing your basement for a refresh starts with a clean slate. The image shows a bright, open area with freshly installed epoxy floors. This type of flooring is durable and easy to maintain, making it perfect for a basement.
Before diving into the actual work, it’s important to clear out any items stored in the basement. This makes it easier to assess what needs to be cleaned or repaired. In the picture, you can see tools and storage units that are likely in the process of being organized or removed.
Good lighting is key when prepping the space. The LED lights visible in the ceiling brighten the room and help spot any imperfections that need attention. A well-lit area encourages productivity and makes the work feel less daunting.
Once everything is cleared and the lighting is set, it’s time to focus on the walls and ceiling. A fresh coat of paint can transform the feel of a basement. The clean, white walls in the image suggest a fresh start, ready for customization.
Make sure to check for moisture issues too. Addressing any leaks or dampness is crucial before laying down new flooring. This way, you’ll have a basement that’s not only stylish but also functional for years to come.
Mixing Epoxy Resins Correctly

Mixing epoxy resins is a key step in achieving a flawless finish on your basement floor. The image shows a container filled with a vivid yellow epoxy mixture, complete with a mixing stick and a thermometer. This setup highlights the importance of getting the mix just right.
First, always use the right ratio of resin to hardener. Following the manufacturer’s instructions will help you avoid any issues. A common mistake is not measuring accurately, which can lead to a sticky mess or a brittle surface.
Temperature plays a big role too. The thermometer in the image shows you're keeping track of the right conditions. Ideally, you want to mix in a temperature range that allows the epoxy to cure properly. Too cold, and it may not set; too hot, and you risk it hardening too quickly.
After mixing, stir slowly to minimize bubbles. Bubbles can ruin the smooth finish you're aiming for. Once everything looks well combined, pour it out and spread it evenly. This is when the magic happens!
Applying the Epoxy Primer
In this phase, we’re tackling the epoxy primer, the crucial first step in refreshing that old basement. The image showcases a clean, well-prepped floor, waiting for a fresh coat of epoxy. The roller lies ready, hinting at the transformation about to happen.
Before applying the primer, make sure the floor is clear of dust and debris. A clean surface helps the primer adhere better. With the right tools, like a quality roller, you can ensure an even coat. This gets the surface ready for the epoxy finish.
The primer not only enhances the final look but also strengthens the bond between the floor and the epoxy. Once it’s applied, you’ll notice the space feeling more polished and prepared for the next steps. Lighting in the image reflects off the smooth surface, showing how a little prep work can go a long way.
Let the primer cure properly before moving on. Patience pays off, as a well-prepped surface can make all the difference in the final outcome. Once dry, you’ll be set to apply your beautiful epoxy floor finish, completing that basement refresh.
Safety Precautions During Application
When refreshing an old basement with epoxy floors, safety should be a top priority. In the image, you can see a worker focused on applying the epoxy. He is wearing gloves and a mask, which is essential for protection against fumes and skin contact.
Proper ventilation is crucial. Make sure the space is well-ventilated to avoid inhaling any harmful chemicals. Opening windows or using fans can help keep the air fresh.
Personal protective equipment (PPE) is key. Apart from gloves and masks, wearing safety goggles can protect your eyes from splashes. This can prevent irritation and long-term damage.
Lastly, be mindful of your surroundings. Ensure that the area is free of clutter and that you have all your tools within reach. This will prevent accidents and make the application process smoother.
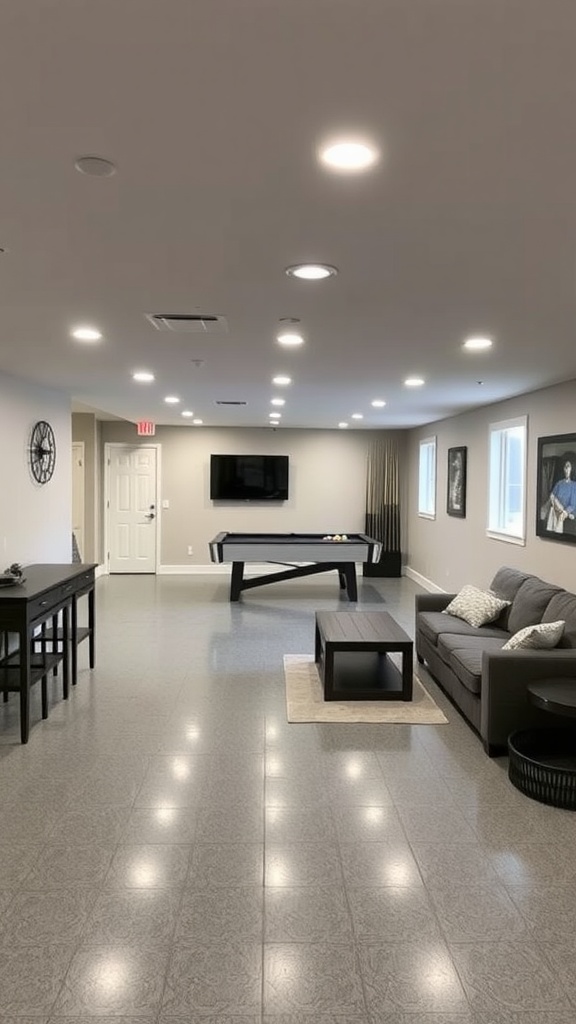
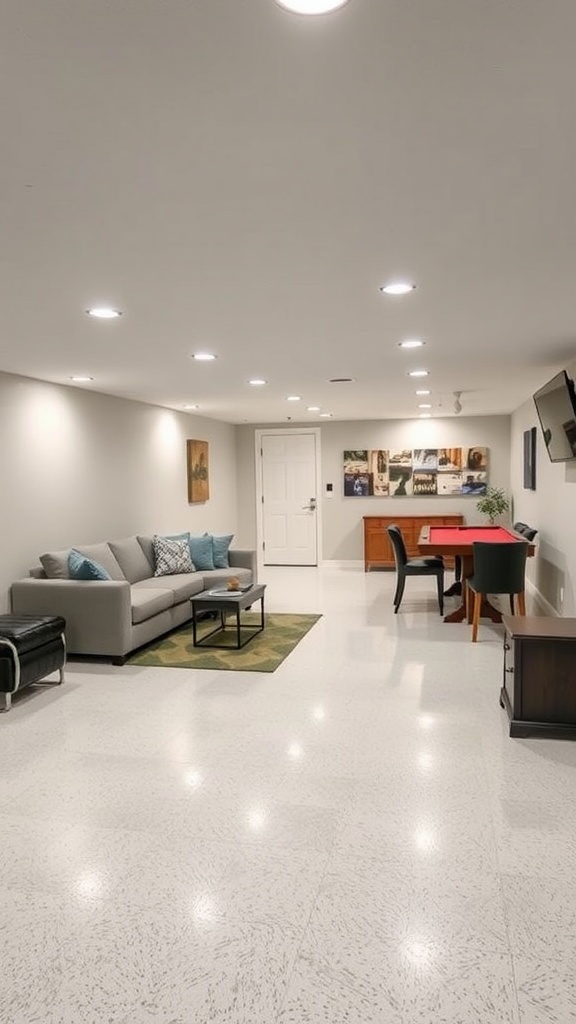
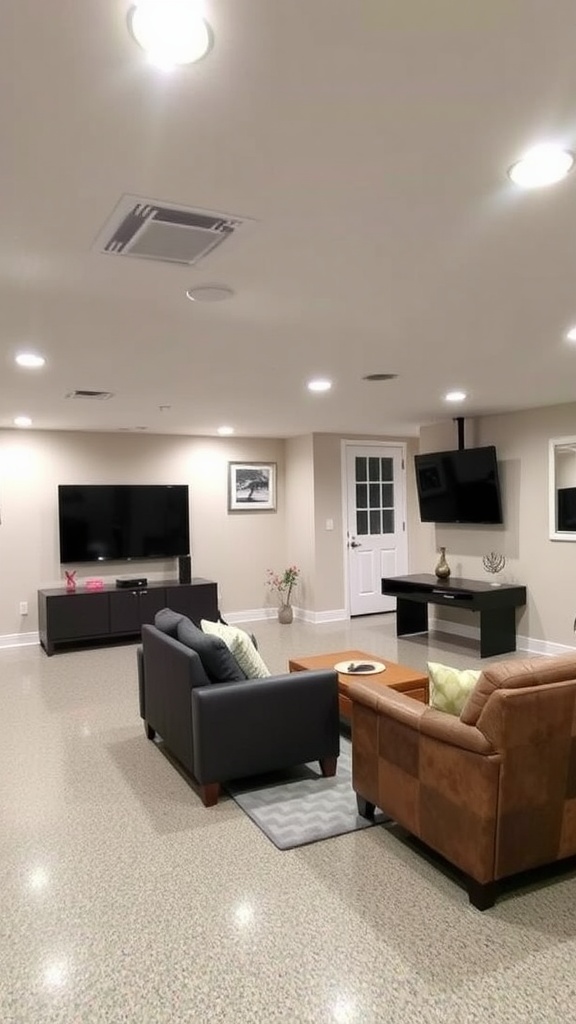
Creating a Functional Basement Layout
The image showcases a beautifully refreshed basement, featuring epoxy floors that shine with a modern sheen. This space is inviting, making it an ideal area for relaxation or entertainment.
A functional basement layout starts with choosing the right furniture. In the image, a cozy couch and a couple of tables are arranged to optimize flow and comfort. This setup encourages gatherings and casual hangouts.
Lighting plays a vital role in how the space feels. The bright lights in the ceiling illuminate the entire area, creating an open and airy vibe. It’s essential to have good lighting, especially in a basement where natural light might be limited.
Storage solutions, like the wooden shelf seen here, help keep the area organized while adding a touch of style. This blend of functionality and aesthetics makes the basement not just a storage space, but a part of the home that can be enjoyed.
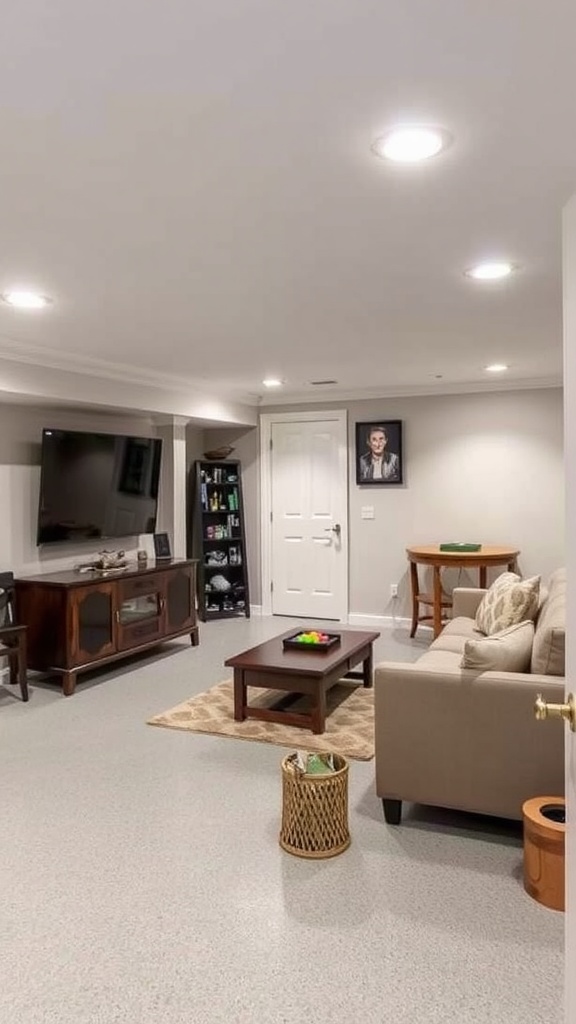
Maintaining Your Epoxy Floor
Keeping your epoxy floor looking fresh is easier than you might think. In the image, you can see someone actively maintaining their floor, ensuring it stays shiny and clean. Regular upkeep is key to prolonging its life and beauty.
First off, sweeping or dusting the floor removes dirt and debris. This small step helps prevent scratches that can dull the finish. Following that, using a damp mop with a mild cleaner keeps the surface spotless. Avoid harsh chemicals, as they can damage the epoxy.
For tougher stains, a gentle scrubbing pad can work wonders. Just remember to test any cleaning product in a small area first. Sealing your floor every few years can also help maintain that glossy finish. A well-maintained epoxy floor not only looks great but also feels inviting, turning your basement into a welcoming space!
Comments
Post a Comment